
Before you begin the installation, make sure that you have the following Equipment and services:
• An active Internet account and Voice over IP account with Netfone
• Ethernet cable to connect to your broadband modem and this adapter
• Phone to connect to your SPA112/122
• Phone cable to connect your phone
Get access to your SPA-112/122 web interface
- Pick up your telephone handset
- Dial ****, do this even if you hear a busy signal
- You will hear a message – “Linksys configuration menu. Please enter option followed by the pound key…“, then enter 1 1 0 # on your phone.
- You will now hear a message giving you the IP address of your SPA112/122 such as – “192.168.1.100“. Write this number down
- Enter IP Address into your web browser (For example. http://192.168.1.100)
- You should now see the Linksys Web Interface as below
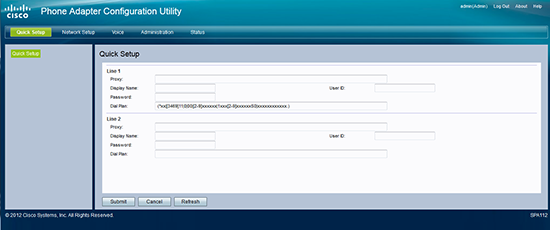
Enter the default credentials in the appropriate fields. For the SPA112/SPA122 please enter “admin” as the username, and “admin” as the password (without quotes).
After entering the password you should see a screen that looks similar to the one below:
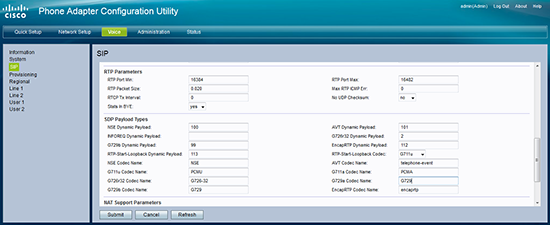
Now, click on Voice on the top menu bar, and click on the SIP link on the side navigation bar and configure your settings accordingly (as shown below):
Click on the Line 1 link on the side navigation bar and configure your settings accordingly (as shown below):
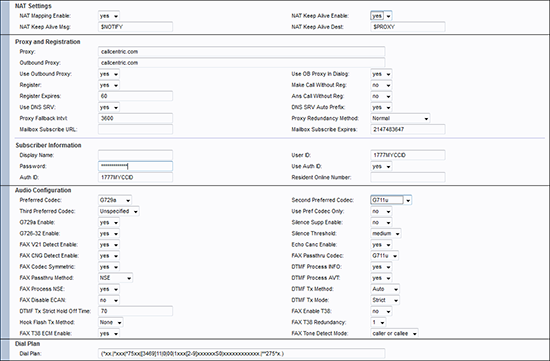
| Menu Item | Setting |
| Proxy: | Check with support (eg. domain.voipportal.ca) |
| Outbound Proxy: | Check with support (eg. domain.voipportal.ca) |
| Use Outbound Proxy: | Yes |
| User ID: | This is your Netfone number without spaces |
| Password: | Please call support for this information |
| Display Name | This is usually the name on the account |
| Use Auth ID: | No |
| Preferred Codec: | G729a |
After you have configured your line settings click the Submit button to save your changes.
That’s it! You can now make a phone call.